How To Make A Coffee Mug Cozy From A Sock
HAVE YOU EVER WONDERED WHAT TO DO WITH THE SOCKS . . .
Whose mates were lost in the time/space vortex known as the dryer? Well, if you’re all stocked up on hand puppets, rice heating pads and dusting supplies, I have an idea I think you’ll love.
This coffee mug cozy requires no knitting, sewing or, um, skills, so it’s perfect mama’s that skipped Home Ec. (I’m still kicking myself for that, btw.)
Not only will it keep your coffee, tea, hot cocoa or bone broth warm longer, it will do it while delivering what the potami like to call hand snuggles. If you’re not familiar with this phrase, it’s the highly technical term for protecting your hands from the hot cup while giving you warm fuzzies. You can see why I’m excited about this, right?
NOW, HERE’S THE BEST PART
Not only is it ridiculously easy and inexpensive, it makes a great gift. Pair it with a stainless steel mug (if they don’t already have one), bulletproof coffee or organic chai tea. You might even spring for a new sock, because you love them that much.
And if you’re feeling especially crafty, you could include a batch of homemade hot cocoa mix . . .
or homemade tea bags filled with a personalized blend.
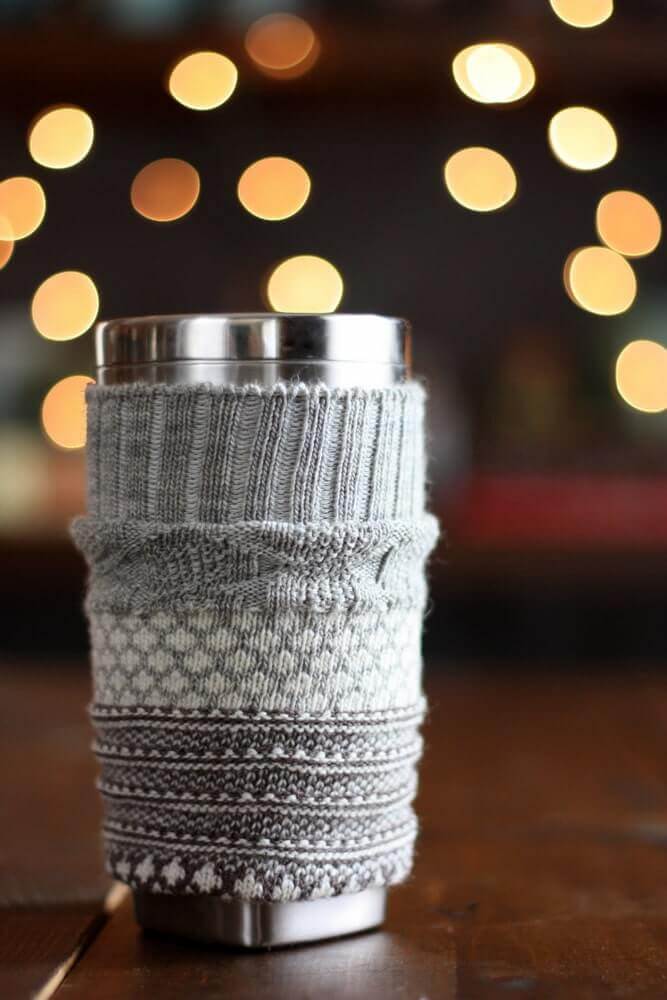
HOW TO MAKE A TRAVEL MUG COZY FROM AN OLD SOCK
This idea came from this Lilyshop tutorial. It’s easy to follow, but what I really wanted was a coffee cup version that could accommodate a handle. Since all the tutorials I found required knitting skills – and I don’t have sewing skills much less anything else -I played with the method and came up with a travel and basic version that worked well.
Materials:
- Scissors
- Sock (preferably a long one)
- Fabric glue, iron-on seam tape, or a needle and thread
Step 1:
Measure the section of your travel mug that you want the cozy to cover. Add one inch to your measurement. I actually added a little more because I wanted the cozy to be a little scrunchy.
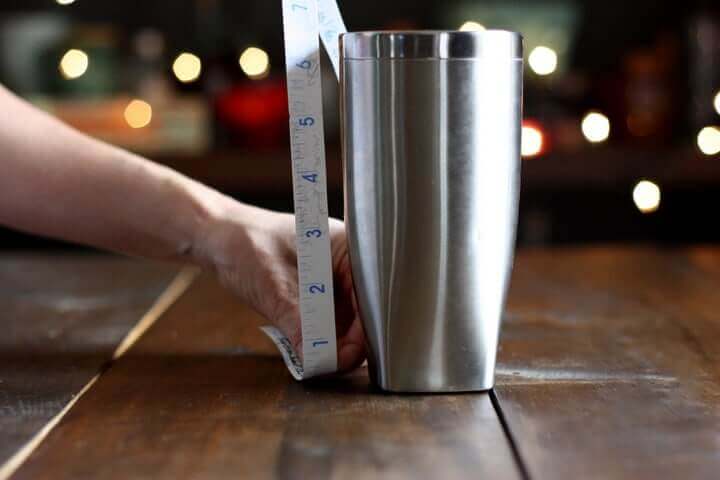
Step 2:
Cut the top section of the sock (that would normally cover your ankle and calf) to fit the measurement. If the lower section (that would normally cover your foot/toes) is long, you may want to set it aside to make a cozy for a short mug or cup. (Instructions below)
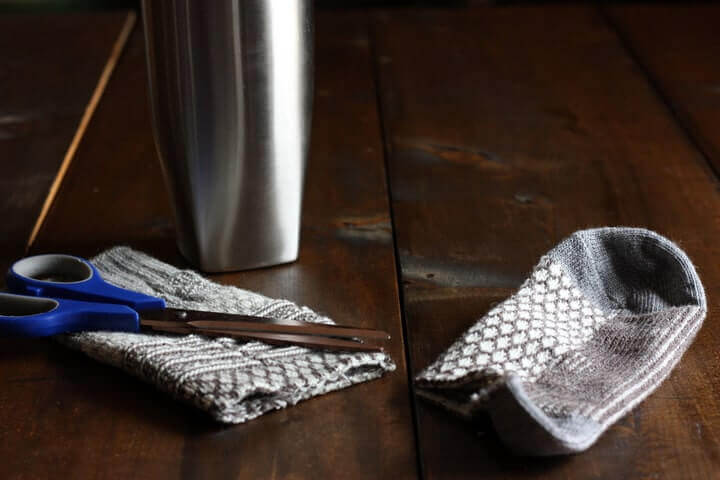
Step 3:
Turn the sock inside out and fold down one inch of the cut edge. Secure the seam by gluing, ironing, or sewing it into place. If you use fabric glue, I recommend spreading the glue before you fold the edge over, then placing a heavy book over the sock while it dries. I left mine in place for about an hour.
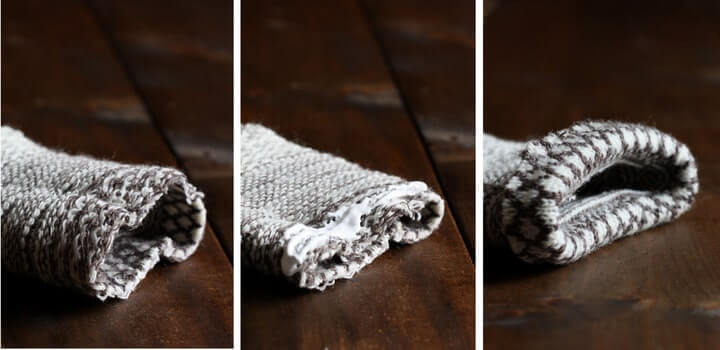

Step 4:
Turn sock right side out and fit onto your mug.
Step 5:
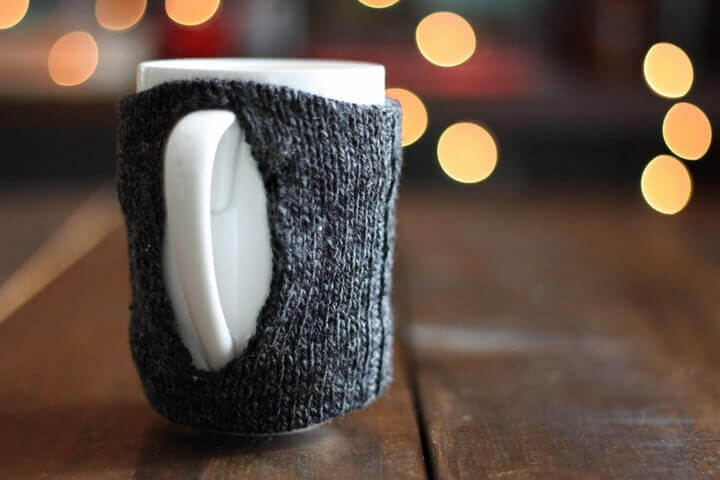
If your mug has a handle, cut a slit in the sock make room for it. After cutting, trim away any frayed edges and apply a thin layer of fabric glue to prevent future fraying. As long as just a little is used it will be invisible when it dries.
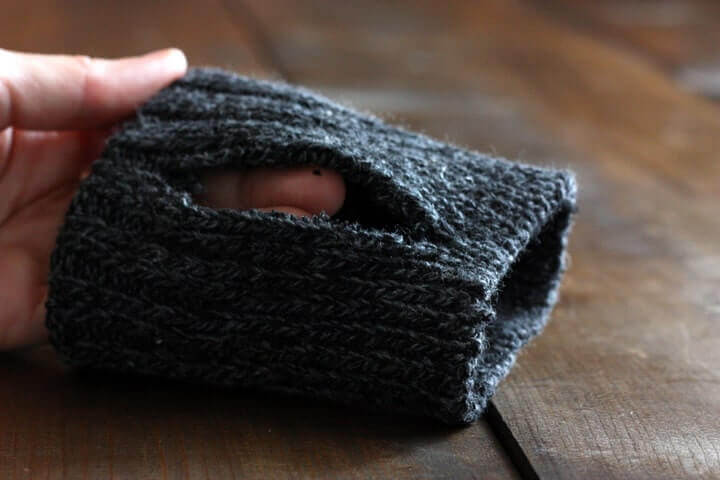
This is what it will look like when it’s done.
Step 6:
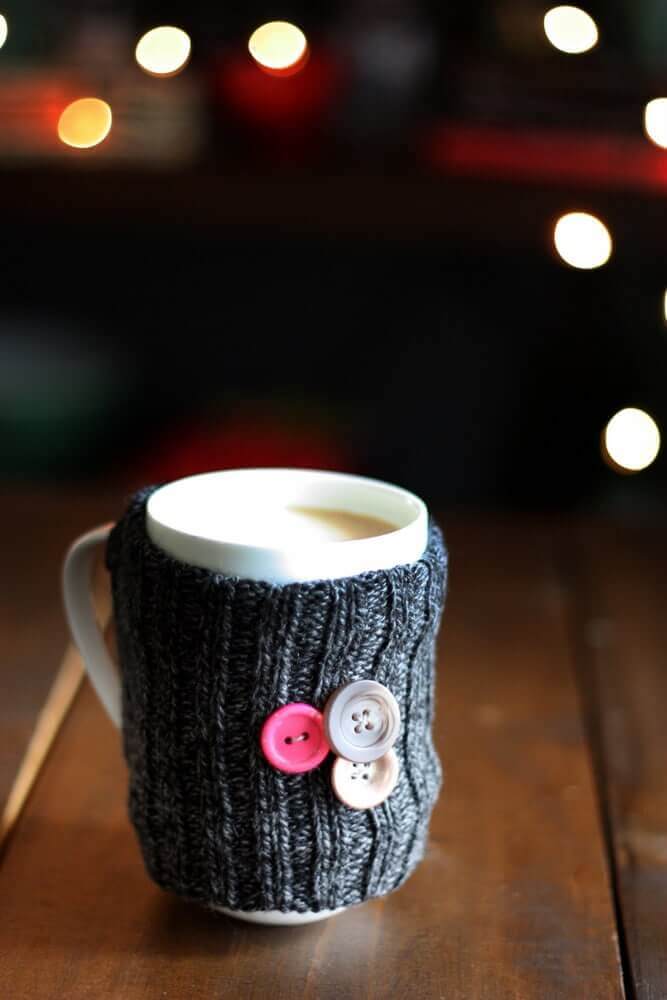
Sew on a few decorative buttons if desired.
Care instructions:
Dry clean only. Just kidding. It’s a sock – wash and dry as needed.


Aucun commentaire